7 Easy Hairstyles for Thin Hair Over 50
Seven easy hairstyles for thin hair over 50, each judged on how little daily work it takes to hold its shape and whether your hair can sustain it.

Booking an appointment soon? Save this page. It is easier to skim in the chair than to remember.
At a glance
Works
- A chin-length blunt bob that air-dries clean in fifteen minutes
- A textured pixie you towel-dry and never touch again
- A deep side parting that adds volume without a salon visit
Depends
- Soft face-framing layers, which only separate on their own if your hair has some natural bend
- A blunt lob at collarbone length, which holds its shape unless your roots flatten under the extra weight
- A grown-out pixie, which only reads intentional if the original cut was designed to grow out
Skip
- Heavy layering on poker-straight thin hair, where layers just hang flat and thin the ends
- A full fringe that borrows too many strands from the already-thin temples
- Any cut that needs a round brush and twenty minutes every morning to look right
Thin hair after 50 is about strand diameter meeting reduced density. The fibres get finer, the follicles produce less coverage, and the cuts that work are the ones that survive without daily effort.
Every option below is judged on the same question: does this shape hold when you skip the blow-dryer, and what does it actually cost you in upkeep?
1. A Chin-Length Bob That Air-Dries Flat

A bob cut to chin level puts every strand at the same endpoint. That single blunt line is the entire shape, and because the length sits close to the jaw it dries flat without a round brush. The perimeter does the work for you, and on a good day the whole process is under fifteen minutes from shower to out the door.
The condition is your ends. A one-length perimeter shows every gap, and thin hair with sparse tips will expose the line rather than sharpen it. Check your ends in daylight before you commit. If they look solid, this is one of the lowest-effort cuts you can wear.
If they are sparse, a textured or bevelled edge might be a better starting point. For a deeper look at the structural physics of bobs on fine hair, see the pillar guide.
- Air-dries in under fifteen minutes with no tools
- The blunt edge holds its shape between trims for four to six weeks
- Check your ends in daylight: sparse tips will show gaps in the blunt line
2. Soft Layers That Only Need Your Fingers
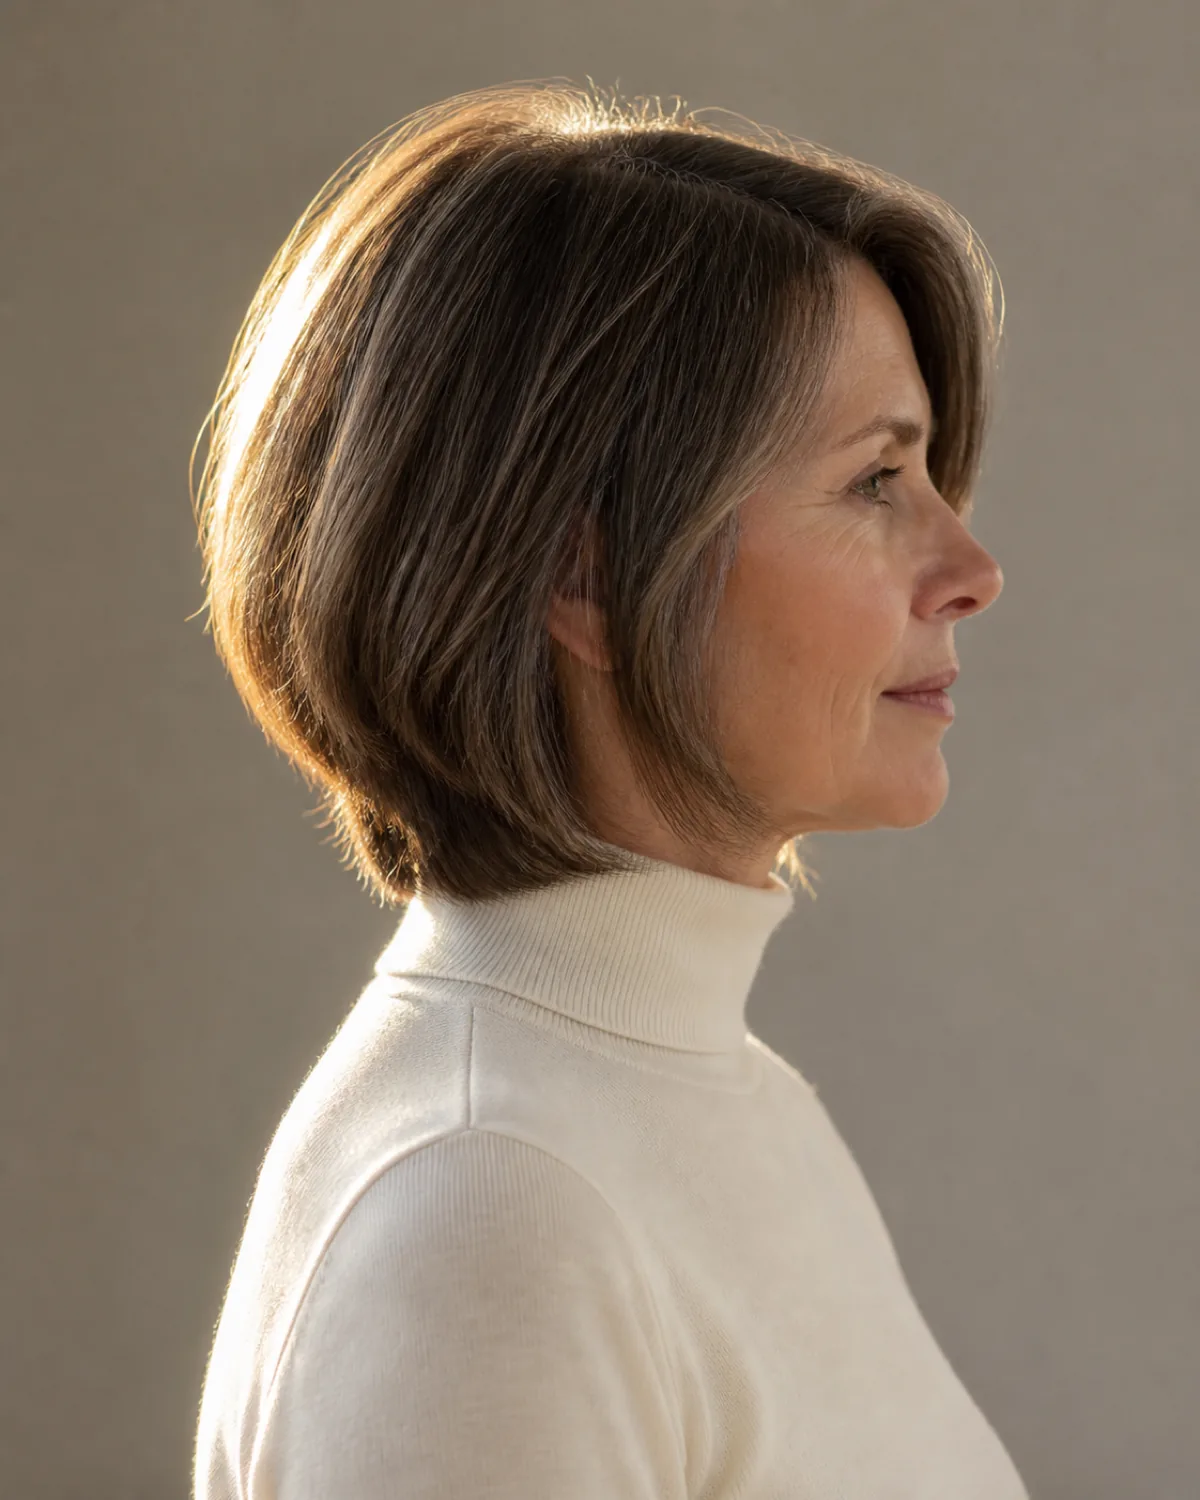
Two or three face-framing layers cut between the cheekbone and chin can fall back into place on their own. Short layers at this length are light enough to reset after sleeping on them. You wake up, run your fingers through, and the separation comes back.
The deciding factor is whether your hair has any natural bend. Layers separate because the hair curves away from itself. On poker-straight fine hair, the same cut produces flat panels with no visible movement.
Cutting the layers does not create the bend. Ask your stylist to look at your air-dried hair and tell you honestly whether it will hold the separation without heat.
- Works if your hair has natural bend, even a slight wave
- Straight, fine hair without wave will not separate into visible layers
- Ask your stylist whether your hair separates on its own before committing
Where to start
Find your situation, skip ahead
Your hair is thin and you want zero styling time
Start with the textured pixie or the chin-length bob. Both air-dry into their shape without a brush.
01 A Chin-Length Bob That Air-Dries Flat03 A Textured Pixie You Towel-Dry and Leave
Your hair is thin but you want to keep some length
The blunt lob holds well if your roots can carry the weight. If they flatten, go shorter.
07 A Blunt Lob That Holds Its Shape for Six Weeks02 Soft Layers That Only Need Your Fingers
You want to try something tonight without booking a cut
Move your parting to a deep side. It displaces volume instantly and costs nothing.
3. A Textured Pixie You Towel-Dry and Leave
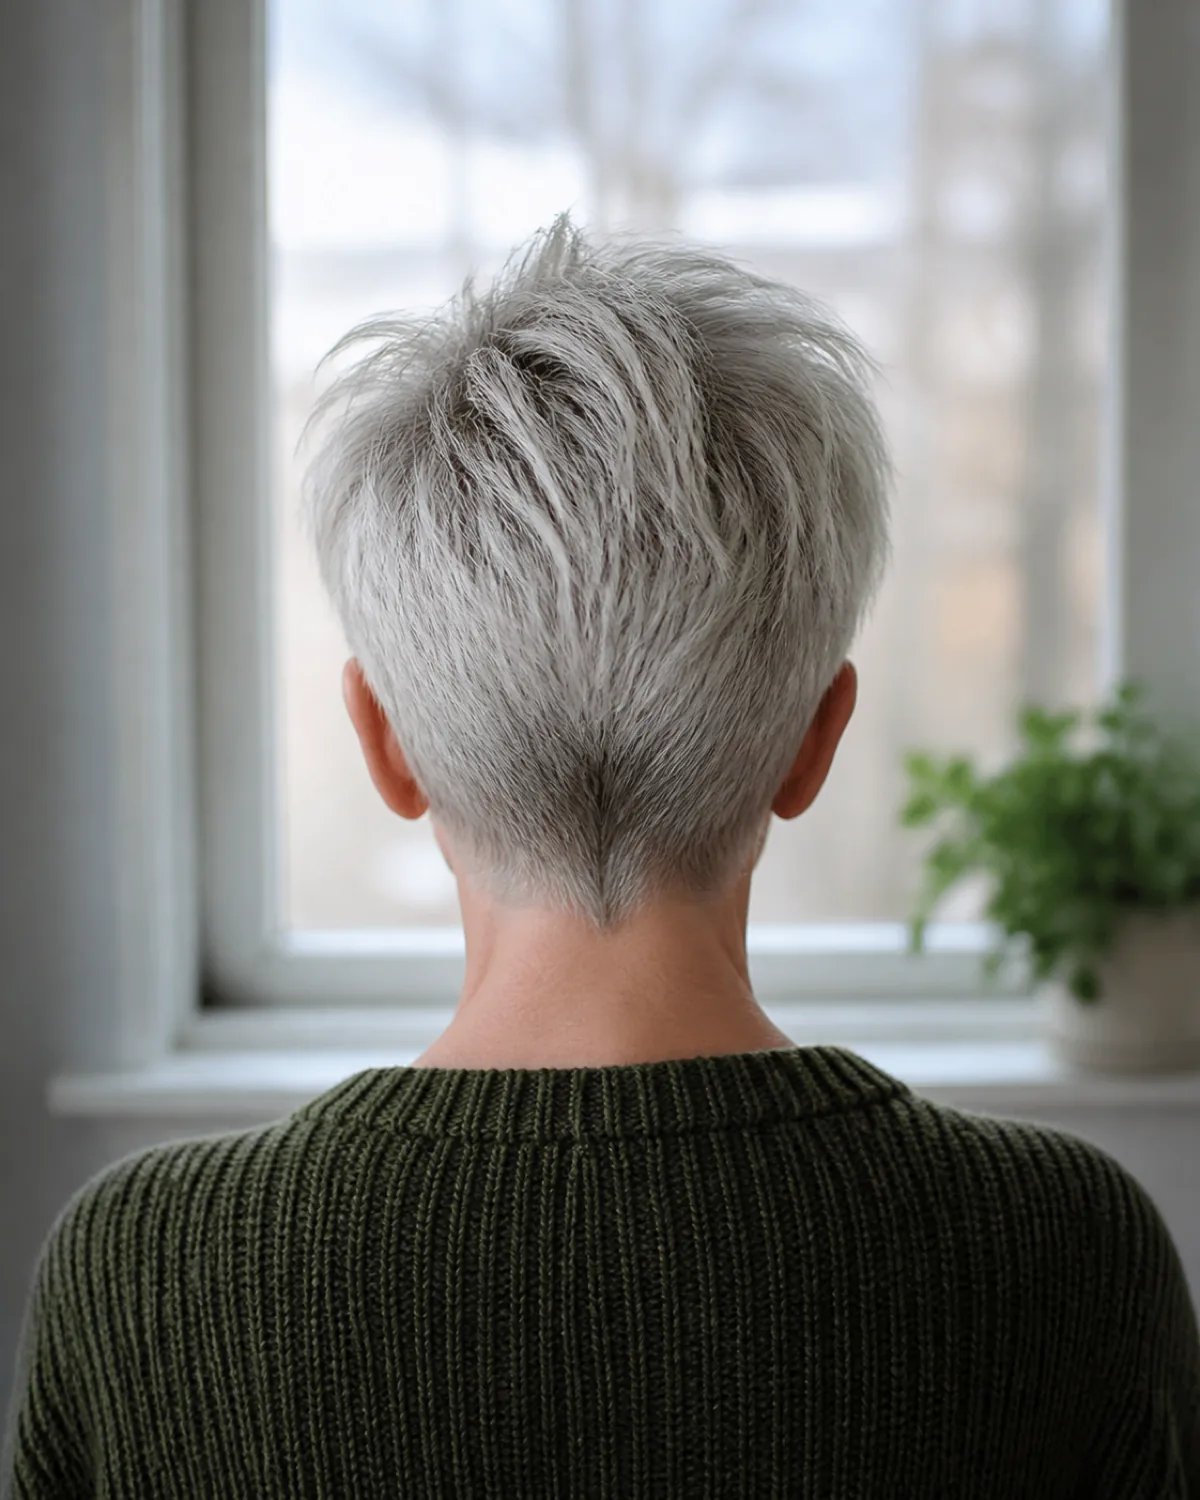
A pixie cut keeps length at the crown and crops the back and sides short. The top section stands up because short, fine hair is light enough to hold its own shape without product. The nape tapers clean, so there is nothing at the back to style or manage.
This is the least effort in the list if you are comfortable going short. You towel-dry it and leave. No brush, no dryer, no product on most days. The trade-off is the salon schedule: a pixie on thin hair loses its proportions in about six weeks because there is so little length separating the top from the sides. Book the next trim before you leave the chair.
- The only cut here that never needs a brush or a dryer
- Crown must be long enough to stand, short enough not to flop
- Six-week trim cycle is the trade-off for zero daily effort
4. A Side-Swept Fringe Without Morning Reshaping

A side-swept fringe can be trained to dry in one direction. After two to three weeks of pinning it to one side while damp, the hair remembers the path and falls there on its own. The trick that makes it easy long-term is cutting it narrow. A narrow fringe section borrows a thin triangle of hair from the front only, leaving the sides and temples untouched.
Wide fringes on thin hair steal volume from the temples, which are already the thinnest area on most heads. A narrow cut avoids that cost. Once the training period is over, this fringe dries where you pointed it and stays there through the day. The effort is front-loaded in those first few weeks.
- Commit to a two-to-three-week training period of pinning while damp
- After training, the fringe dries in place with no reshaping
- A narrow section preserves the volume at the temples and sides
5. A Grown-Out Pixie That Still Reads Intentional
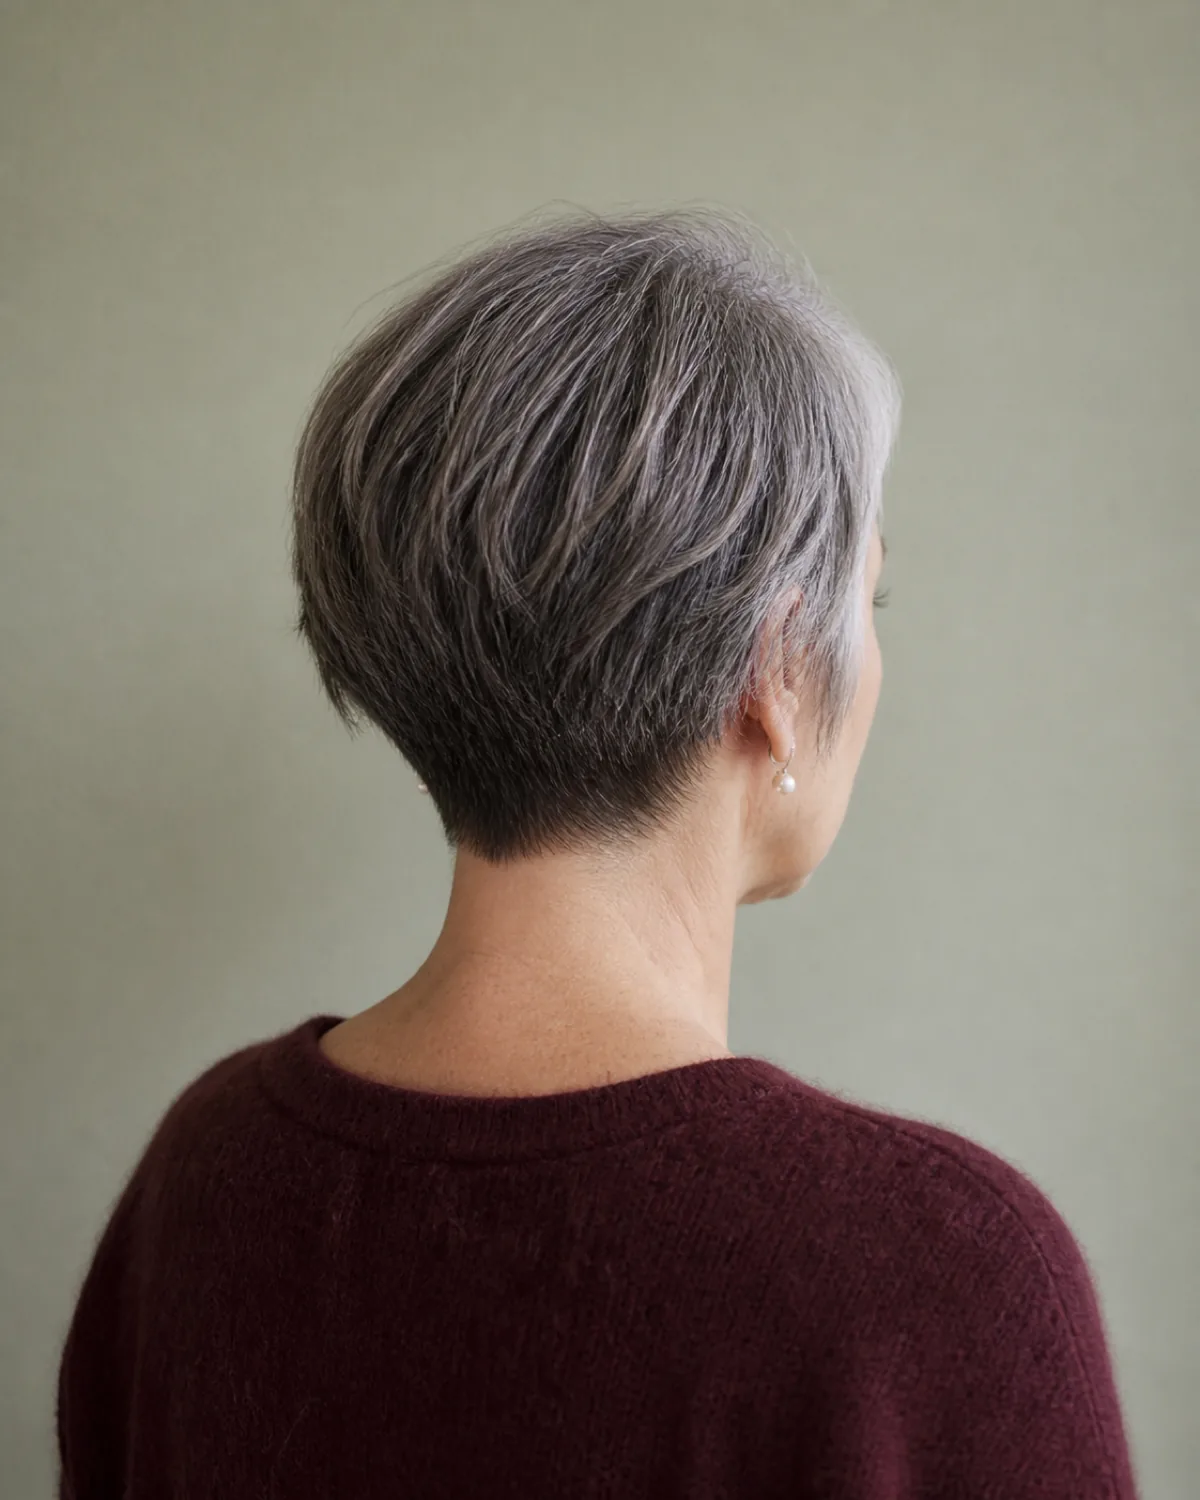
The four-to-eight-month zone between pixie and bob is where most people panic and book a corrective trim. That panic stage does not have to be a problem if the original pixie was cut with grow-out in mind. A soft graduation at the nape keeps the back from mushrooming, and the sides stay close enough to the head to look intentional rather than neglected.
Whether this works depends entirely on the first cut. A pixie designed to grow out has the nape graduated and the sides shaped so the proportions shift gradually rather than collapsing at month three. A pixie that was not designed for grow-out will hit an awkward stage that no amount of patience can fix. Ask your stylist before the first cut, not four months in.
- Works only if the original pixie was designed to grow out
- Ask your stylist at the first appointment whether the cut has a grow-out path
- The nape graduation is the detail that separates intentional from neglected
6. A Deep Side Parting (No Cut Required)

This is not a haircut. Moving your parting from the centre to a deep side displaces most of your hair to one side. That side carries more volume and reads thicker than a centre parting ever could. The shallow side shows more scalp, but the overall impression is fuller hair. The structural physics behind this are covered in the pillar guide.
It works for almost everyone, costs nothing, and takes thirty seconds. The only reason not to try it is a cowlick at the proposed new parting line, which will fight you every morning and cancel out the ease. Run a comb to the new position while your hair is damp and see whether it lies flat. If it does, you have a free upgrade.
- Zero cost, zero salon time, instant result
- Works for nearly everyone unless a cowlick sits at the new parting line
- Try it with damp hair first: if it lies flat, it will hold when dry
7. A Blunt Lob That Holds Its Shape for Six Weeks

A lob at collarbone length with a blunt one-length hemline is the longest cut here that still holds its shape on thin hair. The blunt line reads intentional even as it grows, and the length between chin and collarbone is short enough that thin strands do not sag under their own weight the way they do at shoulder length or longer.
The risk is at the roots. Thin hair at this length can flatten at the crown because the extra weight pulls downward. If your roots go flat by midday, the deep side parting from idea 6 can offset some of that, or you may need to go shorter. This cut works best on thin hair that still has reasonable root density.
- The lowest-commitment cut if you want to keep some length
- The blunt hemline reads deliberate even at six weeks without a trim
- If your roots flatten under the weight, the parting trick in idea 6 helps
Where the checkable claims come from
- Bob cut — Wikipedia
- Pixie cut — Wikipedia
- Graduation vs. Elevation: The Subtle Distinction That Impacts Every Cut — Above Shears
- Bangs (hair) — Wikipedia
- Hair diameter and aging — Birch, Messenger & Messenger, Journal of Investigative Dermatology (2001)
Keep this one
Save it for the appointment
Pin the image above to the board you actually open before a salon visit. This guide is written to be re-read, not read once.
Tonight, before you close this tab
- Air-dry your hair tomorrow morning and photograph it untouched to see what your current cut does on its own
- Count how many minutes you spend on your hair each morning this week and write down the number
- Look at your ends in natural light and note whether they read as solid or sparse
- Write down two questions to ask your stylist about maintenance intervals before your next appointment